How to Use wxWidgets with Visual Studio 2022
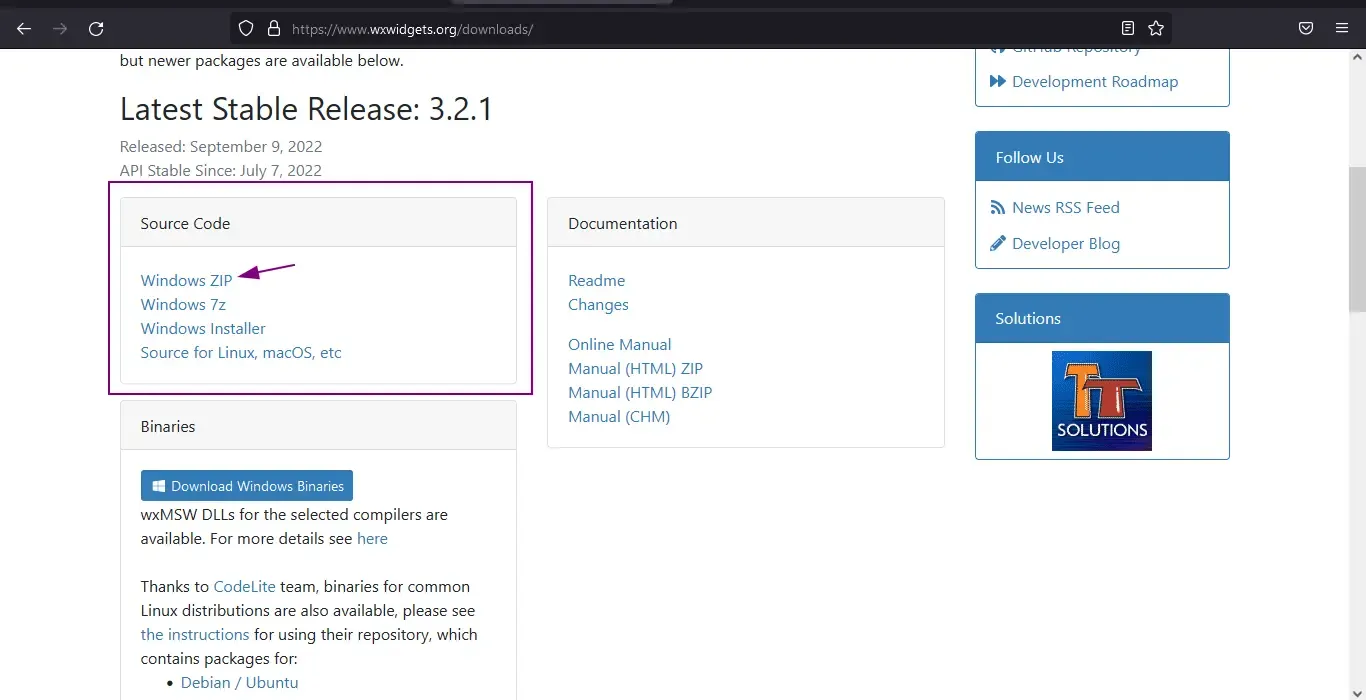
This post will guide you on how to build wxWidgets from source and use in your project. First of all go to wxWidgets.com/downloads and then download the Windows ZIP file from the Source code section.
Now you can make a folder with the name SDKs (or whatever you prefer) and unzip the downloaded the source code in that folder. If you created the SDKs folder in C drive then right now your path to source code directory would be like this C:\SDKs\wxWidgets-3.2.1. You would see the version you downloaded in place of 3.2.1 . Now double click on build\msw\wx_vc17.sln inside the source code folder and the wxWidgets source would open in the Visual Studio.
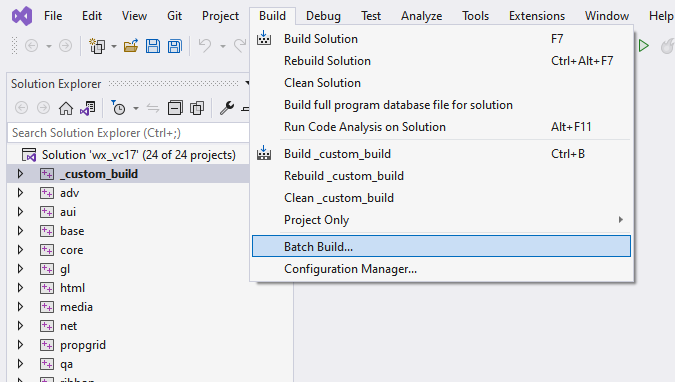
Now we are ready to build the wxWidgets. Click on the build button in the menu bar and then click batch build.
Now batch build popup will open up. Click select all and then click build.
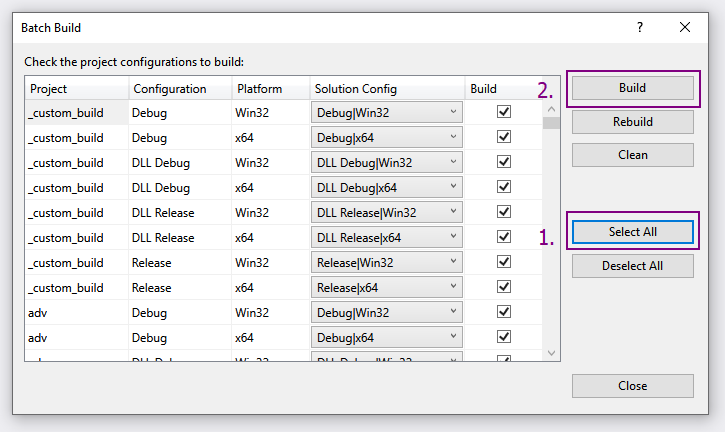
Depending upon your hardware build process may take 10-15 minutes. If your build process fails then you can try rebuild button on the batch build popup. Once build is completed we are ready to use the wxWidgets in our project.
Add wxWidgets folder path as ENV variable
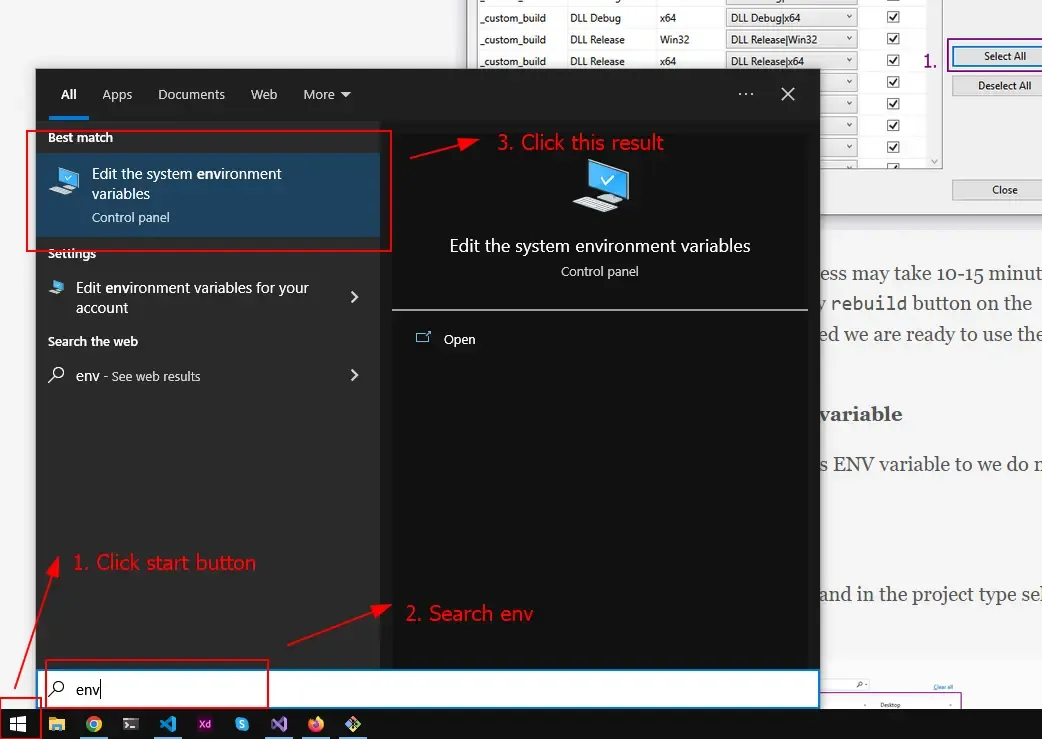
Now we will add wxWidgets folder path as ENV variable to we do not have to hardcode it in the project. To open environment variables setting use the following steps.
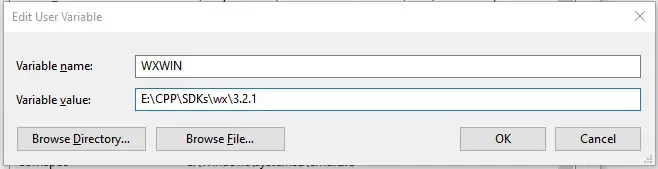
Now put WXWIN in the variable name and path to the wxWidgets folder in the variable value
Using the wxWidgets
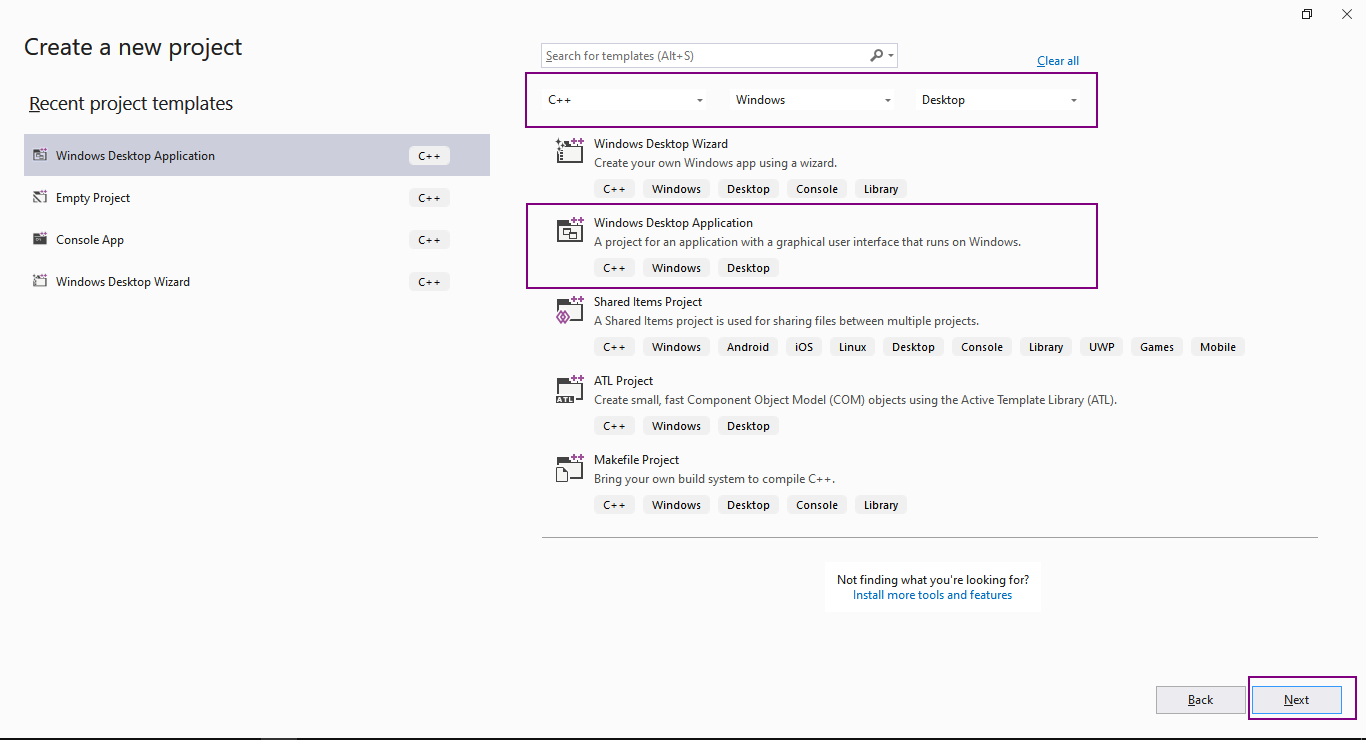
Create a new project in the Visual Studio and in the project type select Windows Desktop Application.
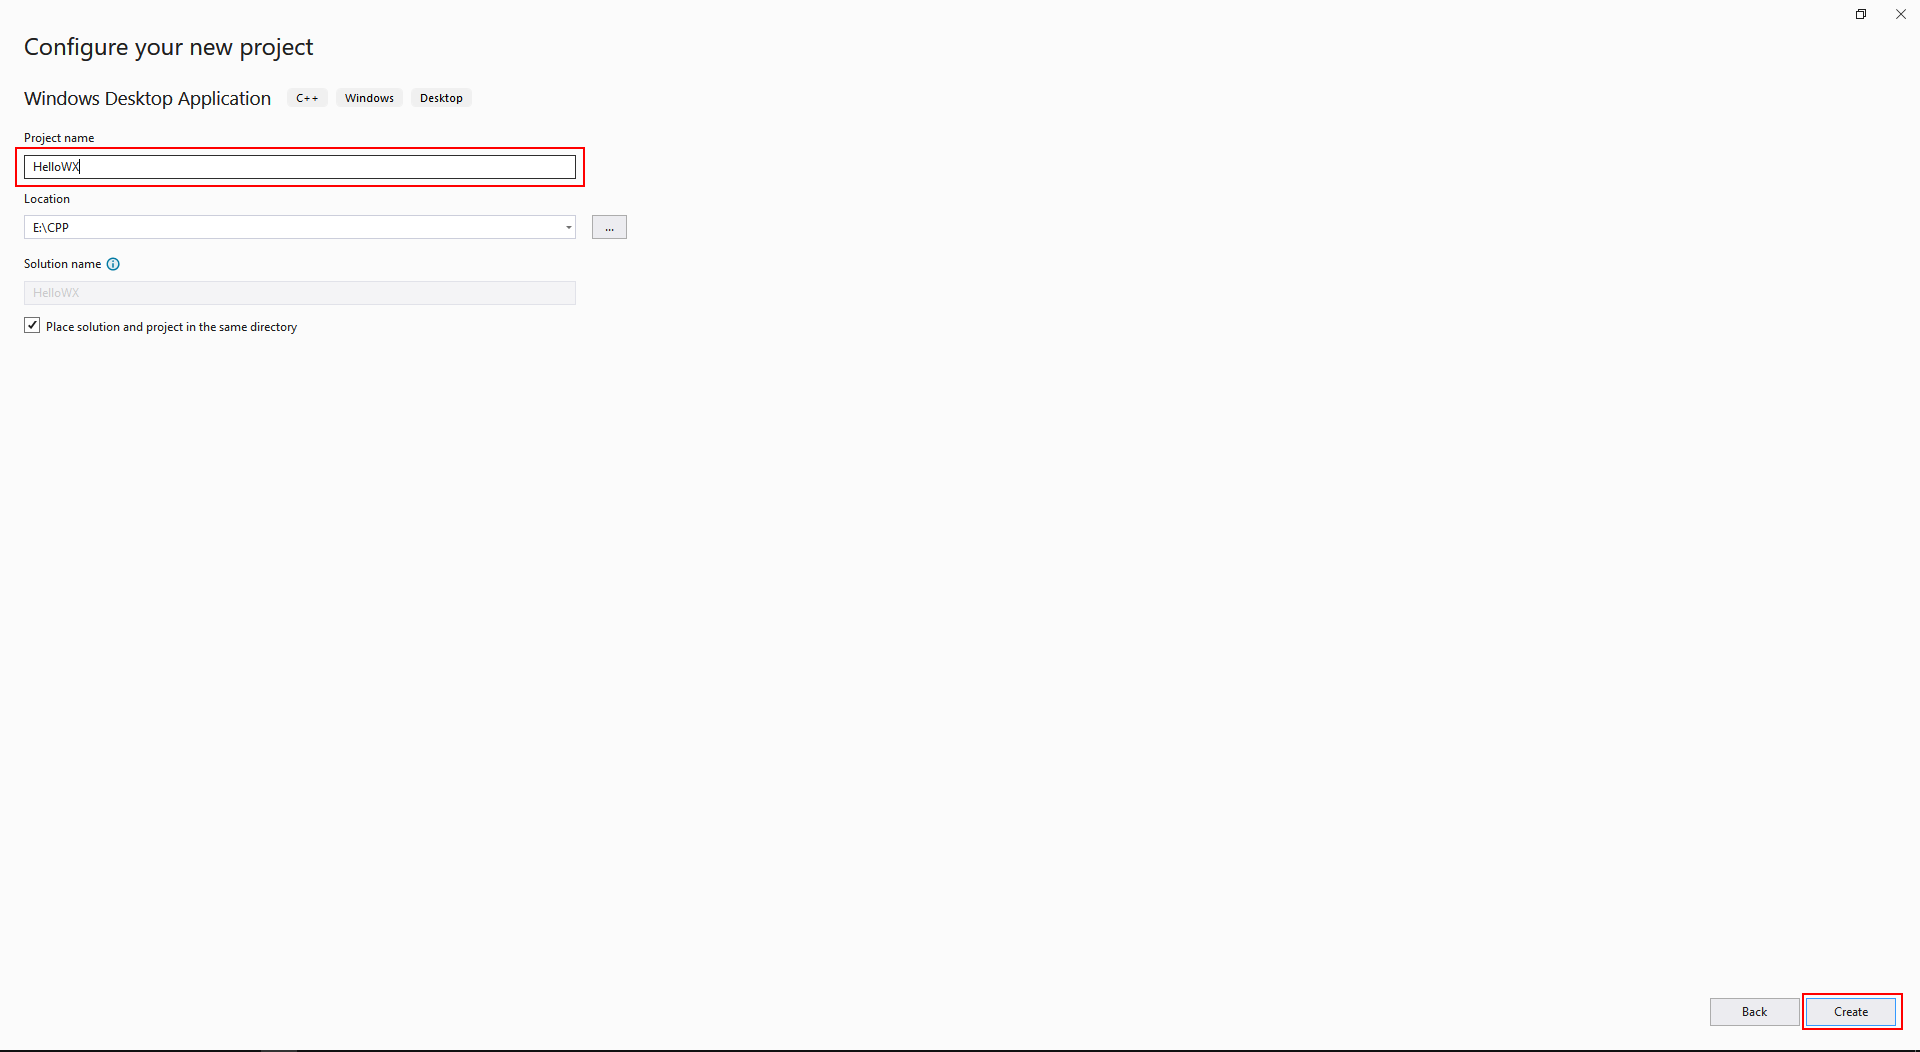
Now in the next step. Provide the name for your project and then click create
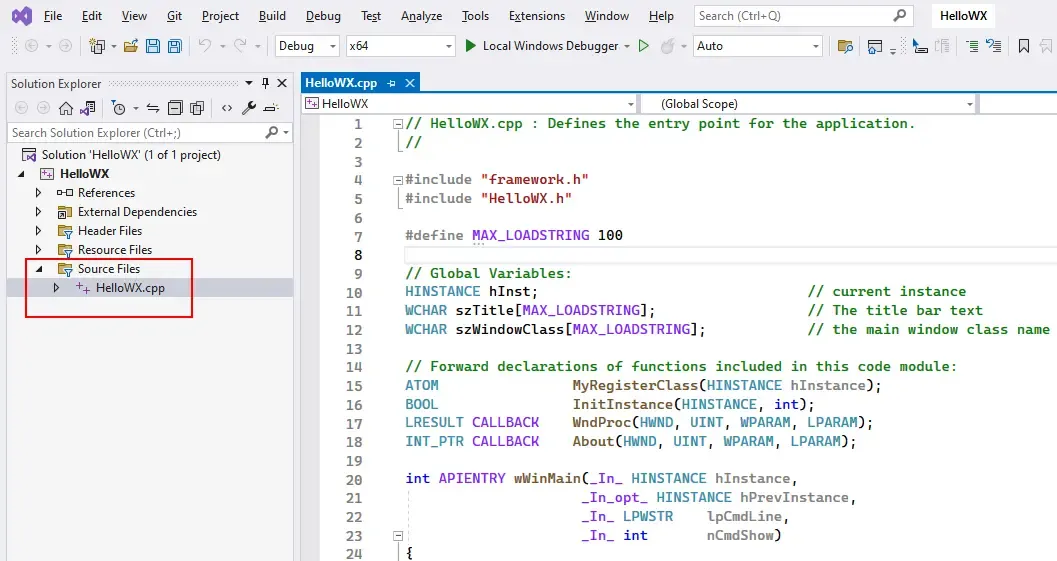
Once the project is opened in the Visual Studio open the .cpp file from the Source files section in solution explorer. File name would have the same name as the project. For example if The project name is HelloWX then file would be HelloWX.cpp
Now copy and paste this code in the file you just opened:
#include <wx/wx.h>

class MyApp : public wxApp
{
public:
   virtual bool OnInit();
};
class MyFrame : public wxFrame
{
public:
   MyFrame(const wxString& title, const wxPoint& pos, const wxSize& size);
};

wxIMPLEMENT_APP(MyApp);

bool MyApp::OnInit()
{
   MyFrame* frame = new MyFrame("Hello World", wxPoint(50, 50), wxSize(450, 340));
   frame->Show(true);
   return true;
}
MyFrame::MyFrame(const wxString& title, const wxPoint& pos, const wxSize& size)
   : wxFrame(NULL, wxID_ANY, title, pos, size)
{

}
After pasting this code you would see the error on #include wx/wx.h line. So now we need to include the wxWidgets files that we compiled earlier into our project.
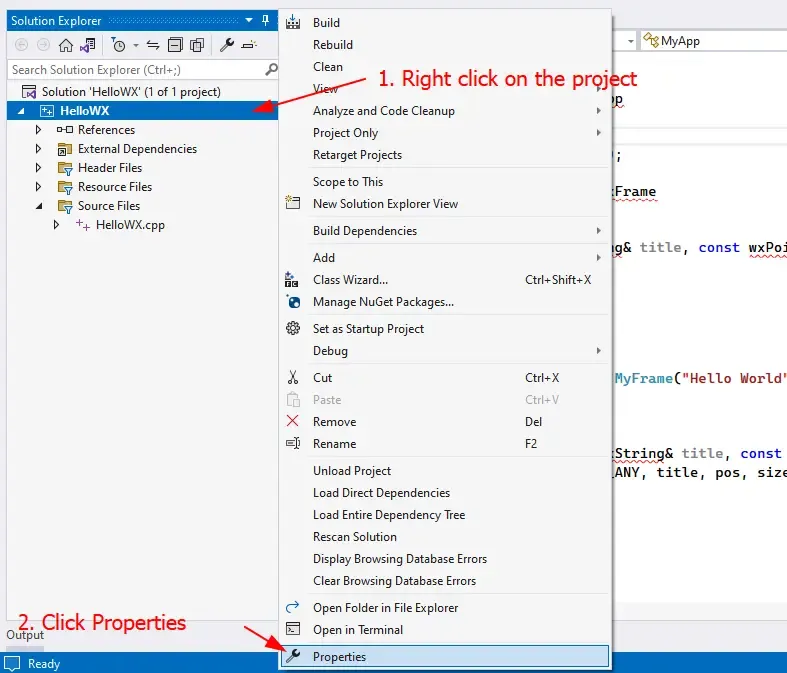
Right click on the project name in the solution explorer and then click properties.
Now under C/C++ section click on general
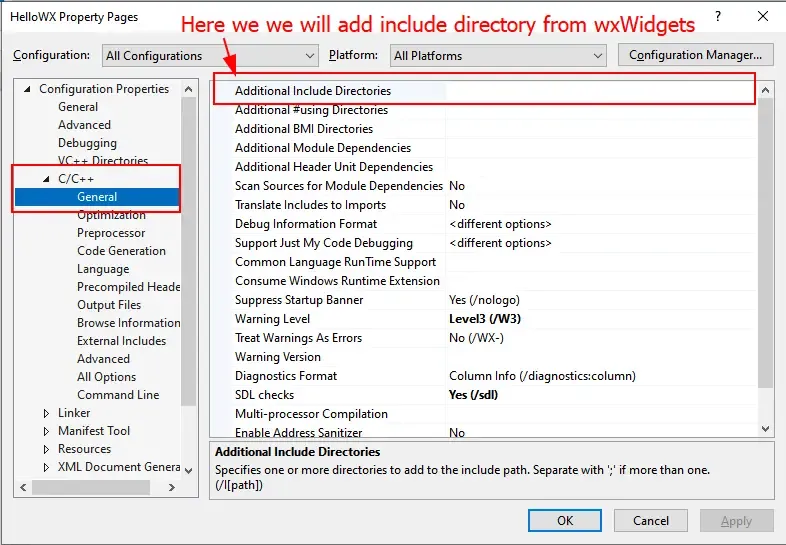
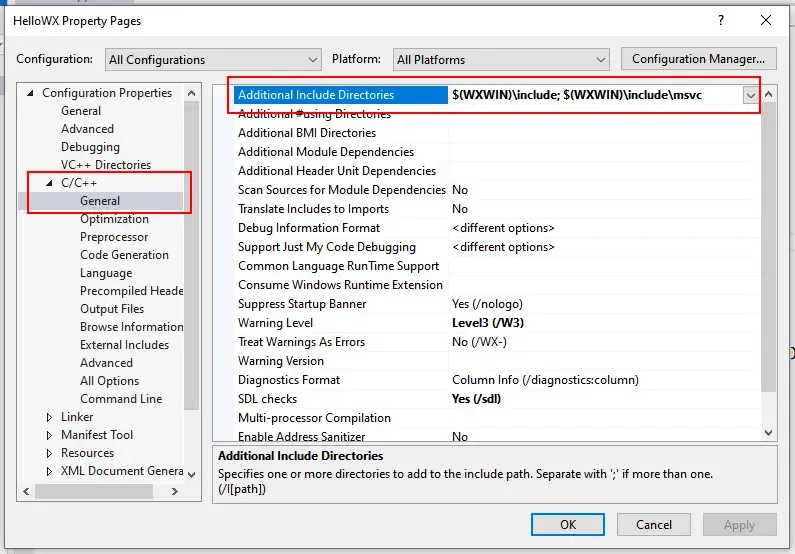
Now in the Additional include Directories we'll add the include and include\msvc directories of the wxWidgets which we have build. We will use the WXWIN environment variable that we created earlier. Add this in $(WXWIN)\include; $(WXWIN)\include\msvc in the Additional include Directories.
Now open general from Linker section.
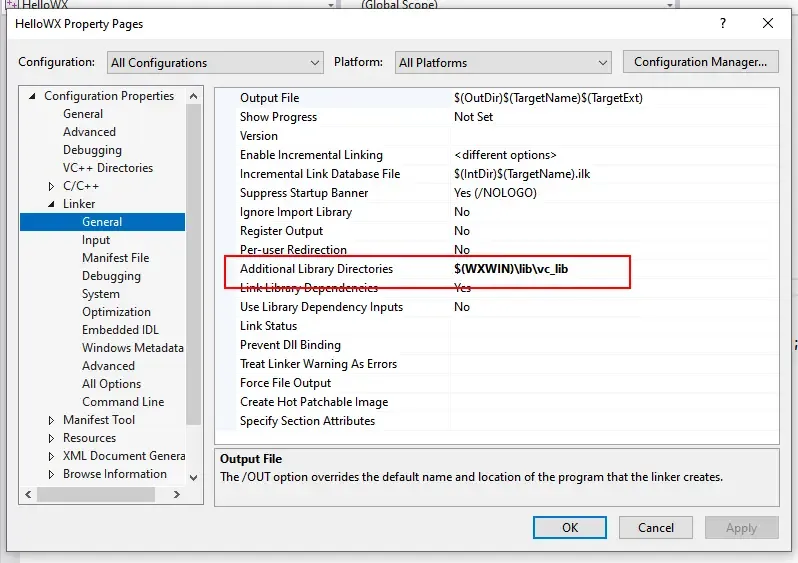
Add $(WXWIN)\lib\vc_lib in the Additional include Directories and click OK button.
Now the error on #include wx/wx.h line should go away and we are ready to build the project.
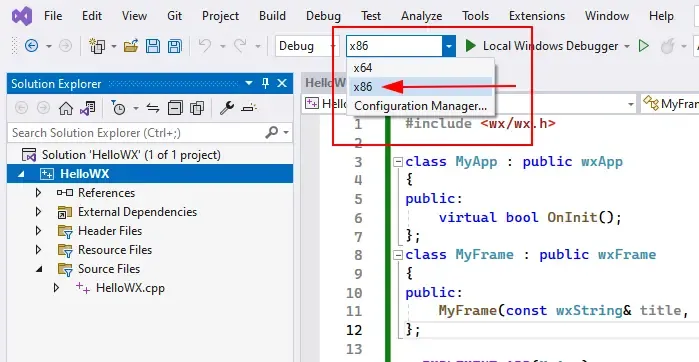
We have included the 32 bit version of wxWidgets in our project, so we need to select x86 in the solution platforms.
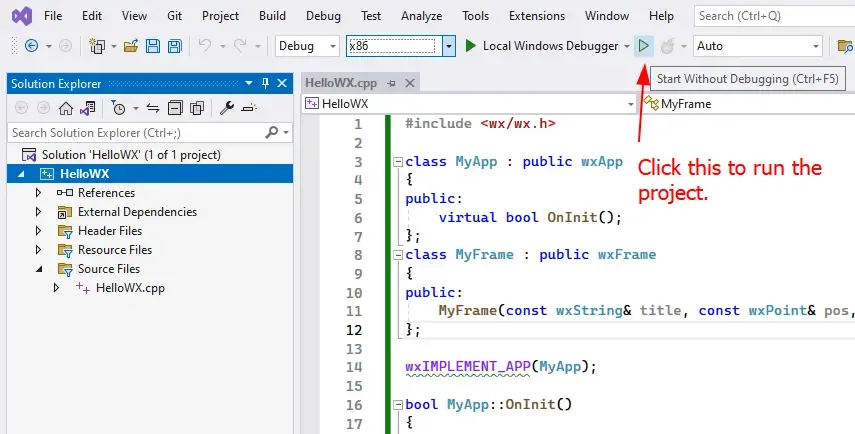
Now to run the project click on Start Without Debugging button.
Now you should get an empty window with Hello World in the title bar.
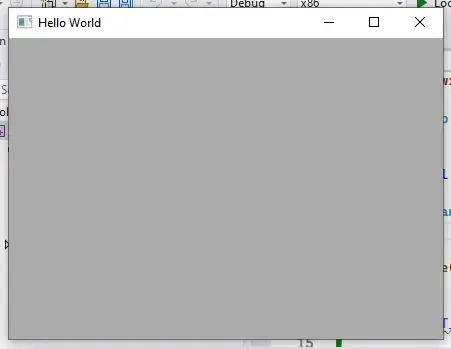
If you get the above window on running the project then you have included the wxWidgets into your project correctly.